Getting started
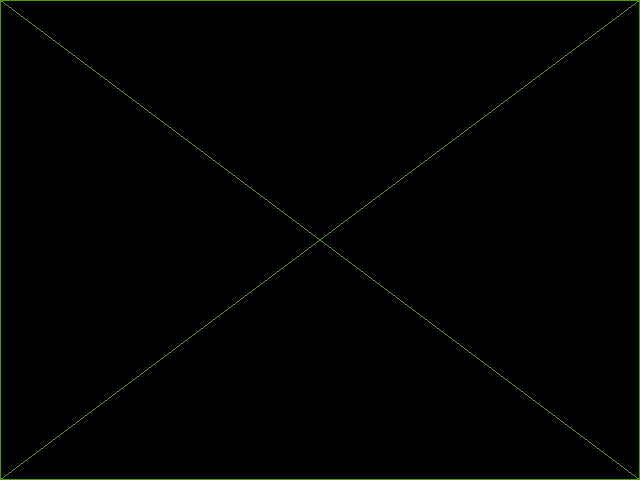
This tutorial describes how to create a GUI from scratch, which basically boils down to importing everything, initializing the GUI, making a widget, then running the event loop. In the end, we’ll have a GUI that fills the screen with a single “placeholder” widget:

As you can see, a placeholder widget just draws a box with a cross through it. It’s useful for quickly visualizing what a GUI looks like, and it will come up frequently in the rest of the tutorials.
Importing everything
First, we need to import both glooey and pyglet:
import pyglet
import glooey
It’s important to understand that glooey is built on top of pyglet. Pyglet provides graphics (via an interface to OpenGL), event handling, and various multimedia utilities. Glooey uses pyglet to provide a system for positioning and drawing widgets.
Initializing the GUI
In the simplest case, initializing the GUI takes two steps:
window = pyglet.window.Window()
gui = glooey.Gui(window)
The first step is to create a window. This step is common to all pyglet programs and is not specific to glooey. The window is important because it sets up an OpenGL drawing context and it communicates user input events to the GUI.
The second step is to create a GUI. The GUI is the root of the widget hierarchy, which means it has an important role in resizing widgets, drawing widgets, and handling mouse events. All that work takes place behind the scenes, though, so usually we don’t interact with the GUI beyond creating it and adding a widget to it (see next section).
You can control how the GUI is drawn (relative to the rest of your game) by specifying a batch and a group. A batch is a pyglet object that manages “batched rendering”, or the process of keeping as many polygons as possible in the same region of memory so they can all be transferred to the video card and drawn more efficiently. A group is a pyglet object that specifies the OpenGL state (e.g. perspective, translations and rotations, clipping masks, etc.) to use while drawing a set of polygons. You can specify these objects like so:
window = pyglet.window.Window()
batch = pyglet.graphics.Batch()
group = pyglet.graphics.Group()
gui = glooey.Gui(window, batch=batch, group=group)
Whether or not you do this depends mostly on how the rest of your game is written. Having the GUI and the game in the same batch is slightly preferable because it may improve performance a bit. If you do that, you’ll probably have to give the GUI a group to make sure it’s rendered on top of everything. But if sharing a batch between the game and the GUI is inconvenient, you can also just stick with the defaults.
Making a widget
To add a widget to the GUI, we just need to instantiate one and pass it to
gui.add():
widget = glooey.Placeholder()
gui.add(widget)
As mentioned before, a placeholder is a simple widget that just draws a box
with a cross through it. That’s good enough for this simple example, but in a
real GUI we would add a widget that can contain other widgets (e.g. Grid,
HBox, VBox) before anything else, so we could build up an interface with
multiple widgets.
Running the event loop
The last thing we need to do is launch the pyglet event loop. This step is common to all pyglet programs and is not specific to glooey:
pyglet.app.run()